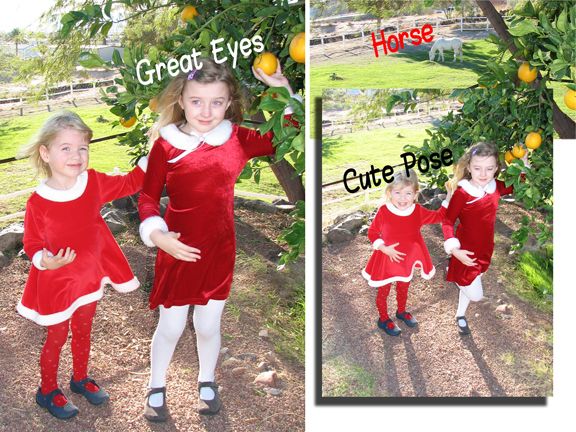
Take the best qualities of individual photos and merge them into one.
I’m using PhotoShop CS2.
Step 1: Open the photos. File, Open, and select the jpg images you wish to work with.
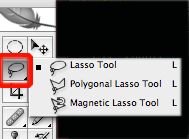
Step 2: Select Lasso Tool. In this instance, I lassoed the open eyes.
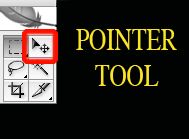
Step 3: Select your Pointer Tool. Drag the open eyes to your main (keeper) photo.
Note: I adjusted curves to lighten the eyes and more closely match the keeper photo. To adjust curves: Image, Adjustments, Curves. Slide the line on the grid UP to lighten or DOWN to darken (with jpg images. The reverse is actually true for cmyk images.)
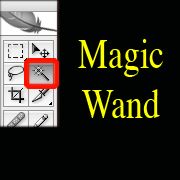
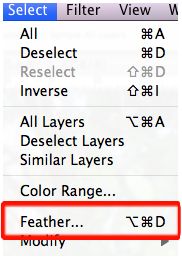
Step 4: Soften Edges. Using your Magic Wand, click anywhere on the image except for the new eyes. Make sure you are on the new layer.
Select, Feather. I chose 5 pixels. Press “ok”, and then your Delete Key. You can press delete several times to get a softer edge. If you go too far, use Apple + Z to reverse the last step.
Step 5: Repeat. I used these same steps to bring the horse over to the “keeper” photo.
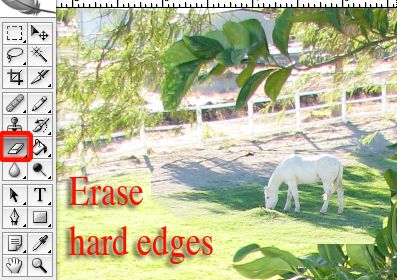
Step 6: Erase hard edges. Instead of feathering, I chose to use the Eraser Tool to soften the edges of the horse layer.
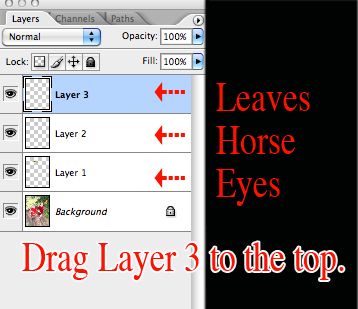
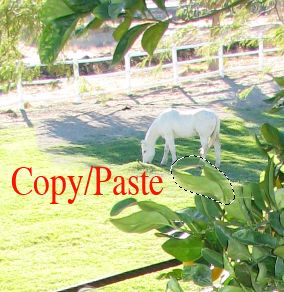
Step 7: Copy/Paste. While on your main (keeper) background, copy (Apple + C) a few individual leaves and paste (Apple + V). A new layer will be created with these leaves. In the Layers Window, drag this new layer to the top (above the horse layer).
Using your Pointer Tool, drag the leaves around the photo and place them in a believable, foreground position. Feather or erase hard edges.
Step 8: Merge Layers. Layer, Flatten Image.
Step 9: Save As. File, Save As, enter a new name so the original file will be unchanged.
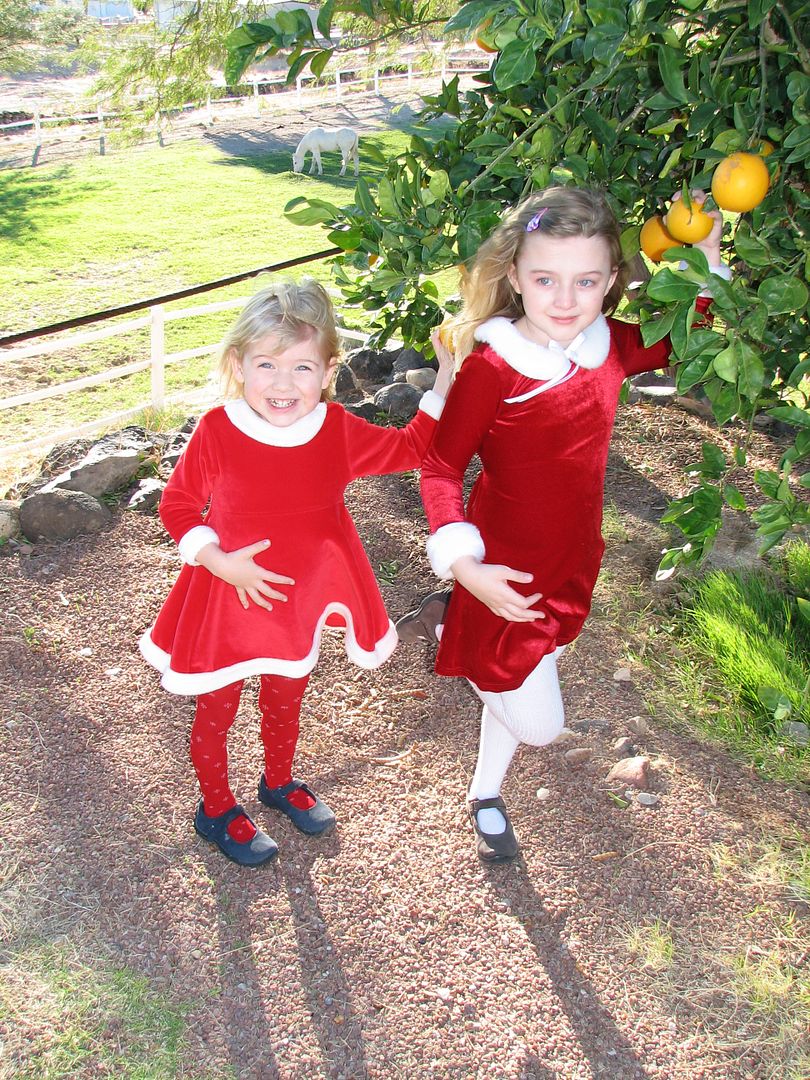
FINISHED PRODUCT: Christmas 2008
Thank you for reading!