


I’m using CS2 for this demonstration. I’ve used Photoshop professionally for 7 years.
The Basics
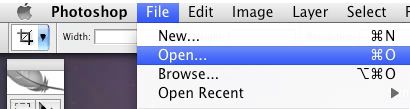
File, Open, then select the photo you’d like to work on.
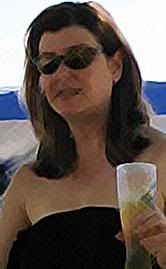
I chose the photo that has become my current avatar on MySpace and Facebook.
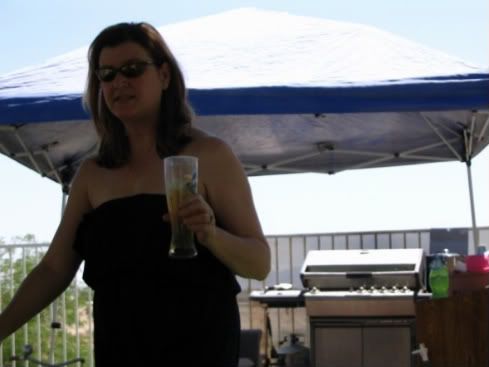
Before: Unretouched photo
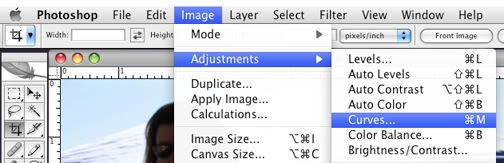
The first thing I want to do is lighten this photo. Select Image, Adjustments, Curves.
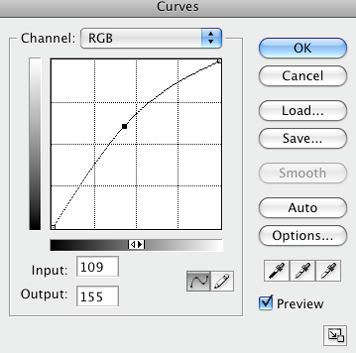
Place your icon on the line in the center of the grid, hold your mouse down, and slide the line up. You will notice the image getting lighter. Click OK, then repeat the process if necessary.
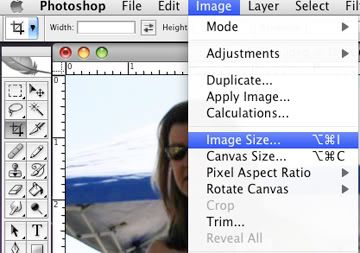
Resize the photo, making it smaller thus easier to upload and/or email. Image, Image Size.
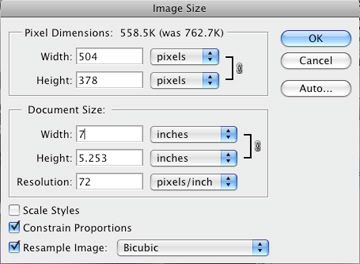
Change Document Size, making sure Constrain Proportions and Resample Image are checked. When you adjust width, height will automatically adjust.
Crop your image using the Crop Tool. I’ve highlighted the tool in red below.

Hold your mouse down on the image and drag to select the portion of your photo that you are keeping. You can adjust your selection by using the weight points (squares that appear on the dashed line signifying your selection).
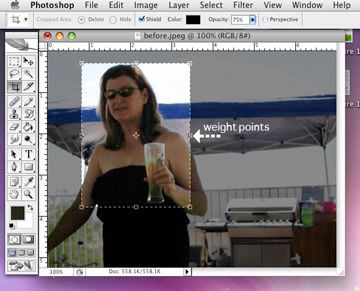
When you are happy with your selection, hit return.
Fun With Filters
Filters give your photos fun finishes, and are quick & easy to use. Select Filter, Artistic, and just click on the first one, Colored Pencil to get the ball rolling.
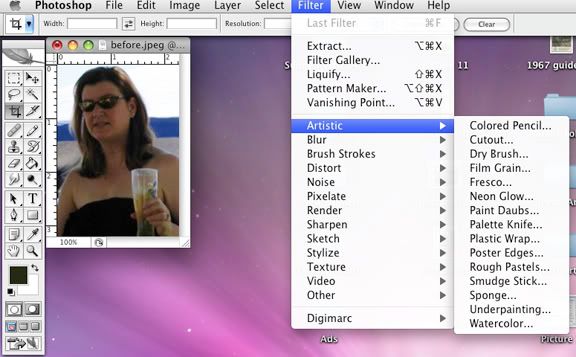
A new window will open, automatically previewing the changes to your photo. Click on the various options to see previews of the filter effects.
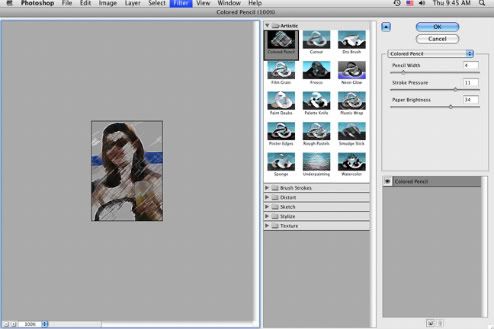
Click OK to choose a filter effect, or cancel to close the filter window.
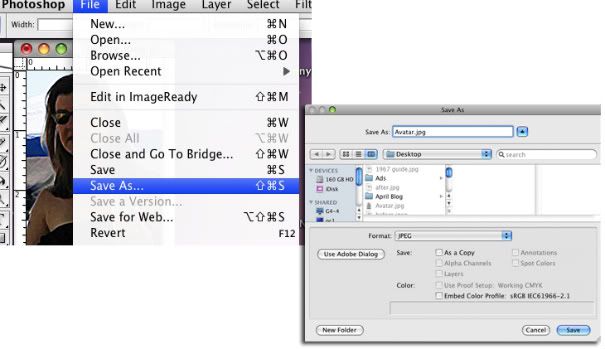
When you save your photo, choose Save As and rename your photo. This ensures your original photo will not be altered.
The finished result:
After
If you have any questions or suggestions for the next installment, please let me know.
Thanks for reading!
Tags: Basics, Crop, CS2, Curves, Filters, how to, Lighten, Photoshop, Resize, Tips, Tricks, Video


