Slim-Fast

Posted on October 18th, 2009 by Jean

I’m getting back on my Slim-Fast wagon. I’d like to lose 7 pounds. This is the game my body plays. I eat healthy and exercise, then relax into my old eating habits. I yoyo between 145 and 152 lbs. Between size 10 and 12. Between “You’ve lost weight!” and “When is your baby due?”

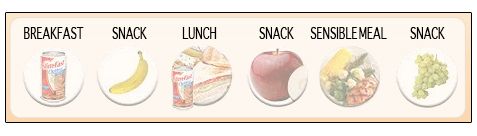
Slim-Fast used to be about drinking 2 shakes and eating a sensible dinner. It has really come a long way! You can actually eat 3 healthy meals plus 3 healthy snacks. This doesn’t come naturally to me. Santa Claus used to bring me fruit once a year. That’s a blog for another day.

Slim-Fast’s interactive website is free. No trial membership. No limited time offer. Just free.

They even have a Vegan meal plan. Seriously. Vegan.

You don’t even have to drink their chalky shakes.

Register and your menu for the entire week (and future weeks) is at your fingertips. You can swap out anything that doesn’t sound appealing and exchange it for another healthy item.

Today I’ve enjoyed a blueberry muffin bar and some vanilla yogurt. Lunch will be a large spinach salad with fresh sliced mushrooms and juicy mandarin orange slices. I’ll snack on dried cranberries before my delicious dinner of Hearty Chili. This is my favorite chili recipe! Even when I’m not dieting, I prepare it.


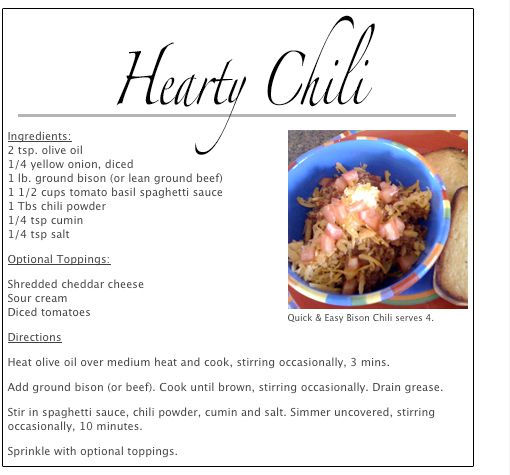
FYI: Slim-fast doesn’t endorse that dollop of sour cream.

The Slim-Fast site also provides you with activities, tools, support and a community. Did I mention it was free? Yes, all free!

So, wish me luck, and if you are dieting, I wish you luck as well!

• Do you have a favorite weight loss program?
• Does your body yoyo or is it more like a slinky?
• What did Santa stuff in your stocking?

PhotoShop Tips V: Add Text to Photos

Posted on October 17th, 2009 by Jean

Thank you to Steve for this tutorial suggestion.

Part 1: Downloading Fonts from the Internet

Check out FontSpace.com for free fonts.

Choose your free font, download it, and unzip it (doubleclick on the zipped file). It will appear in your download folder.

Launch your MAC hard drive (click on Finder or the icon for your hard drive). Click on System, Library, Fonts. Drag the new font file from the download folder to the font folder. If your computer requires a password to add fonts or programs, you will be prompted to enter your code. The font is now in your system, and will appear when you launch your applicable programs.

Part 2: Adding Text to Photos

Step 1:
Launch PhotoShop and open the jpg file you would like to work with.

Step 2:
Select your Text Tool (the uppercase T on your side toolbar). Drag your mouse over the area of the photo where you will type text. Font selection is on your upper toolbar. Scroll through the fonts and make your selection. You can also select color via your side toolbar.

Step 3:
Type your text. To quickly change the font size, depress Apple plus A, and tap your > or < keys (greater than or less than). While on your pointer tool you can drag your text anywhere on the photo.

Step 4:
Make sure your Layers window is open (Window, Layers). Click on the lowercase f to make style changes to your font. Options include Drop Shadow, Stroke and Outer Glow. Experiment with the options. You will see the previews for these styles on your text prior to clicking OK. You can simply hit Cancel if you do not like the effect.

Step 5:
To warp text, click on the lopsided, underlined T on the top toolbar.

Step 6: When you are satisfied with your text, combine the layers. Layers, Flatten Image. Then Save As (change the name of the jpg if you do not want to damage the original file.

Upcoming tutorials may include the scrumptious Mayflower Martini and finding my own a** with both my hands. Some say that later one can’t be done.

Remember, I’m always open to your suggestions.

Menu

  • [instagram-feed]
  • Enter your email address:

    Delivered by FeedBurner

     
    Follow on Bloglovin

  • SPONSORS


    Stock Photos & Images

© 2014 JEAN HAS BEEN SHOPPING. ALL RIGHTS RESERVED.